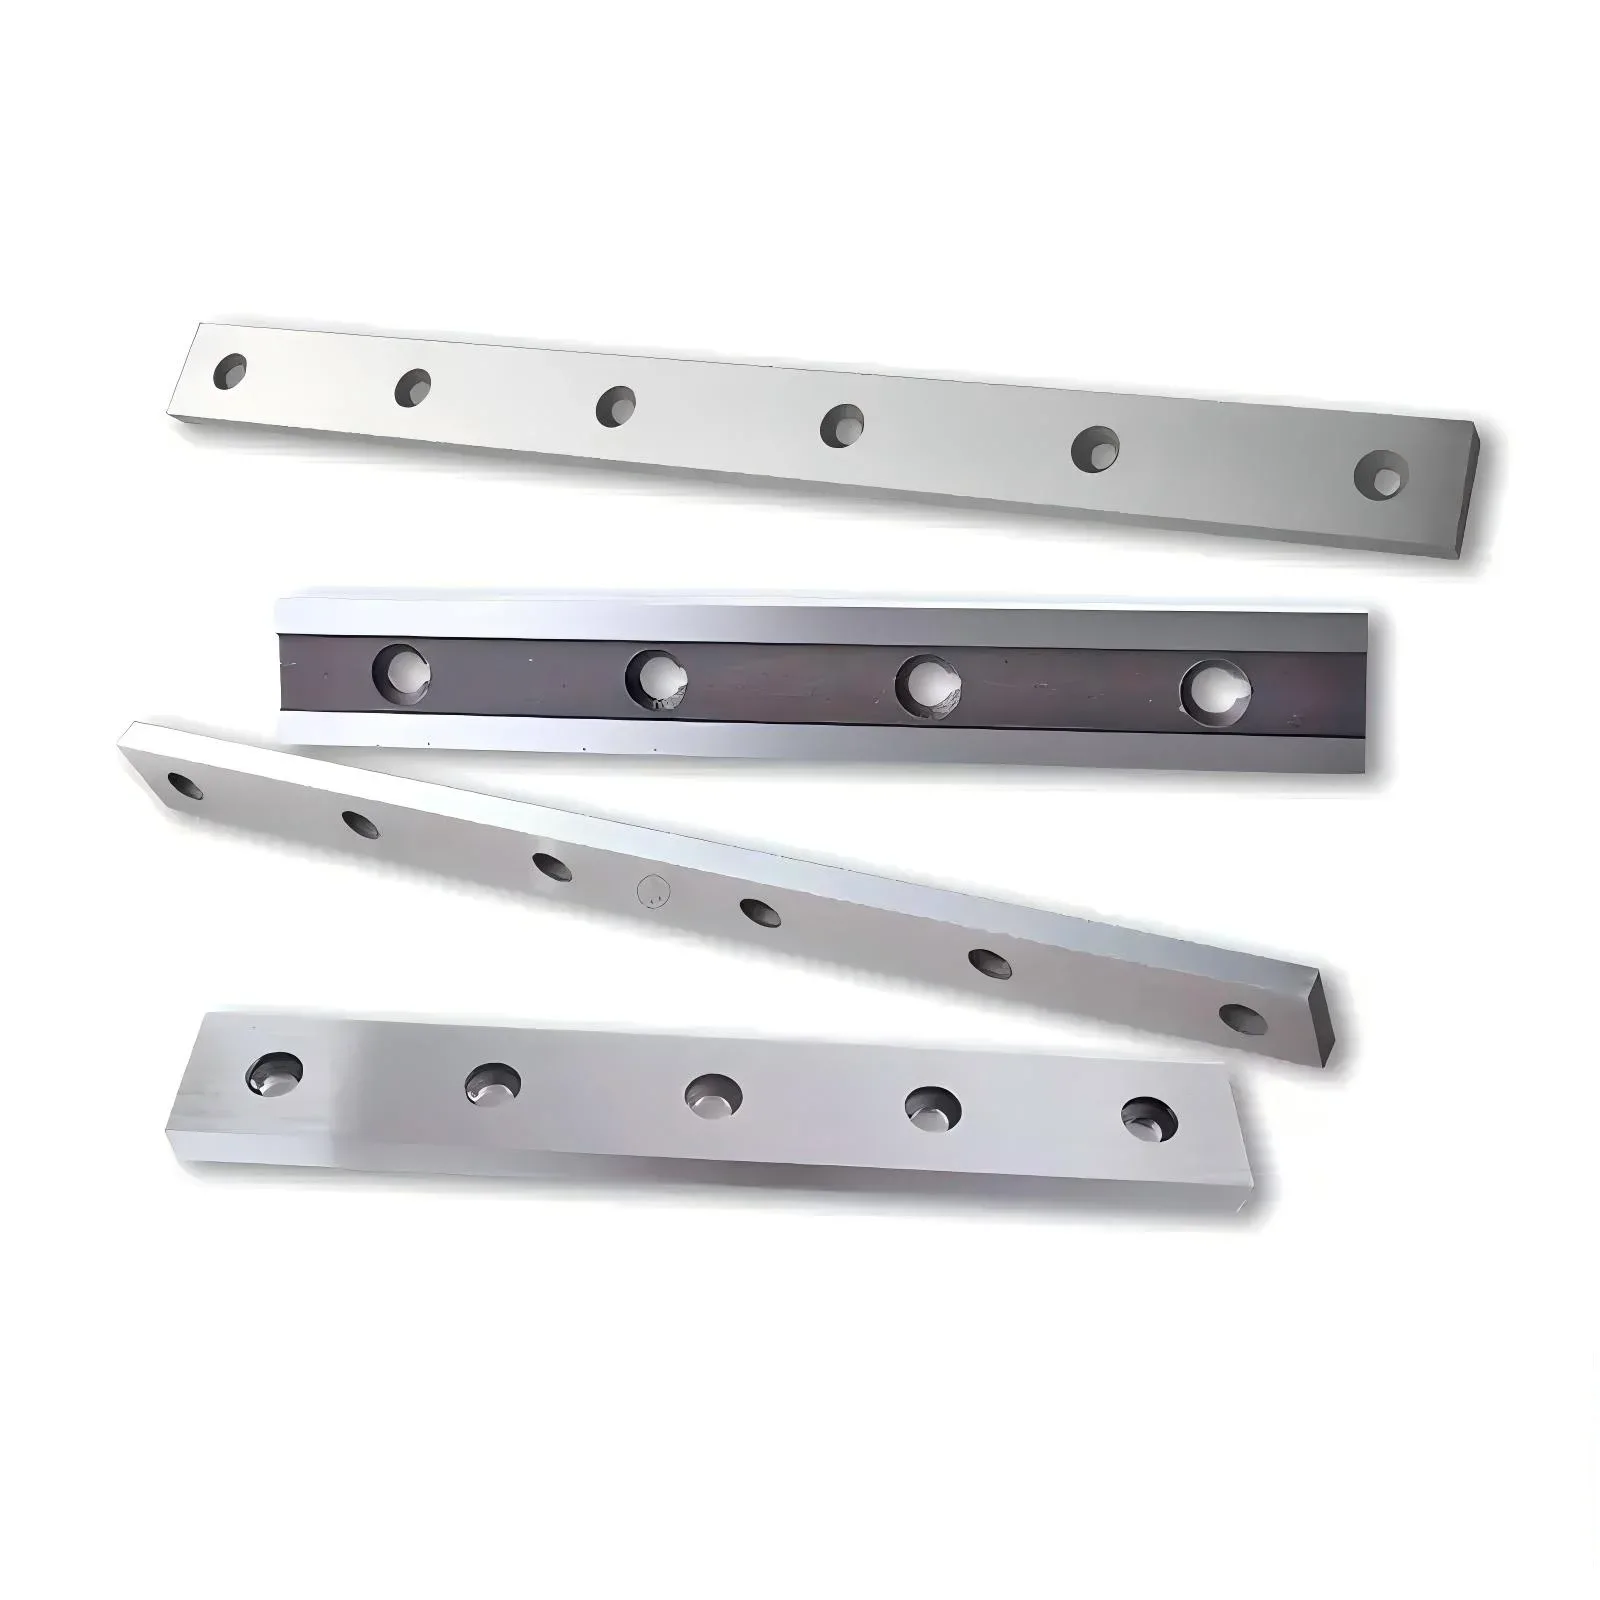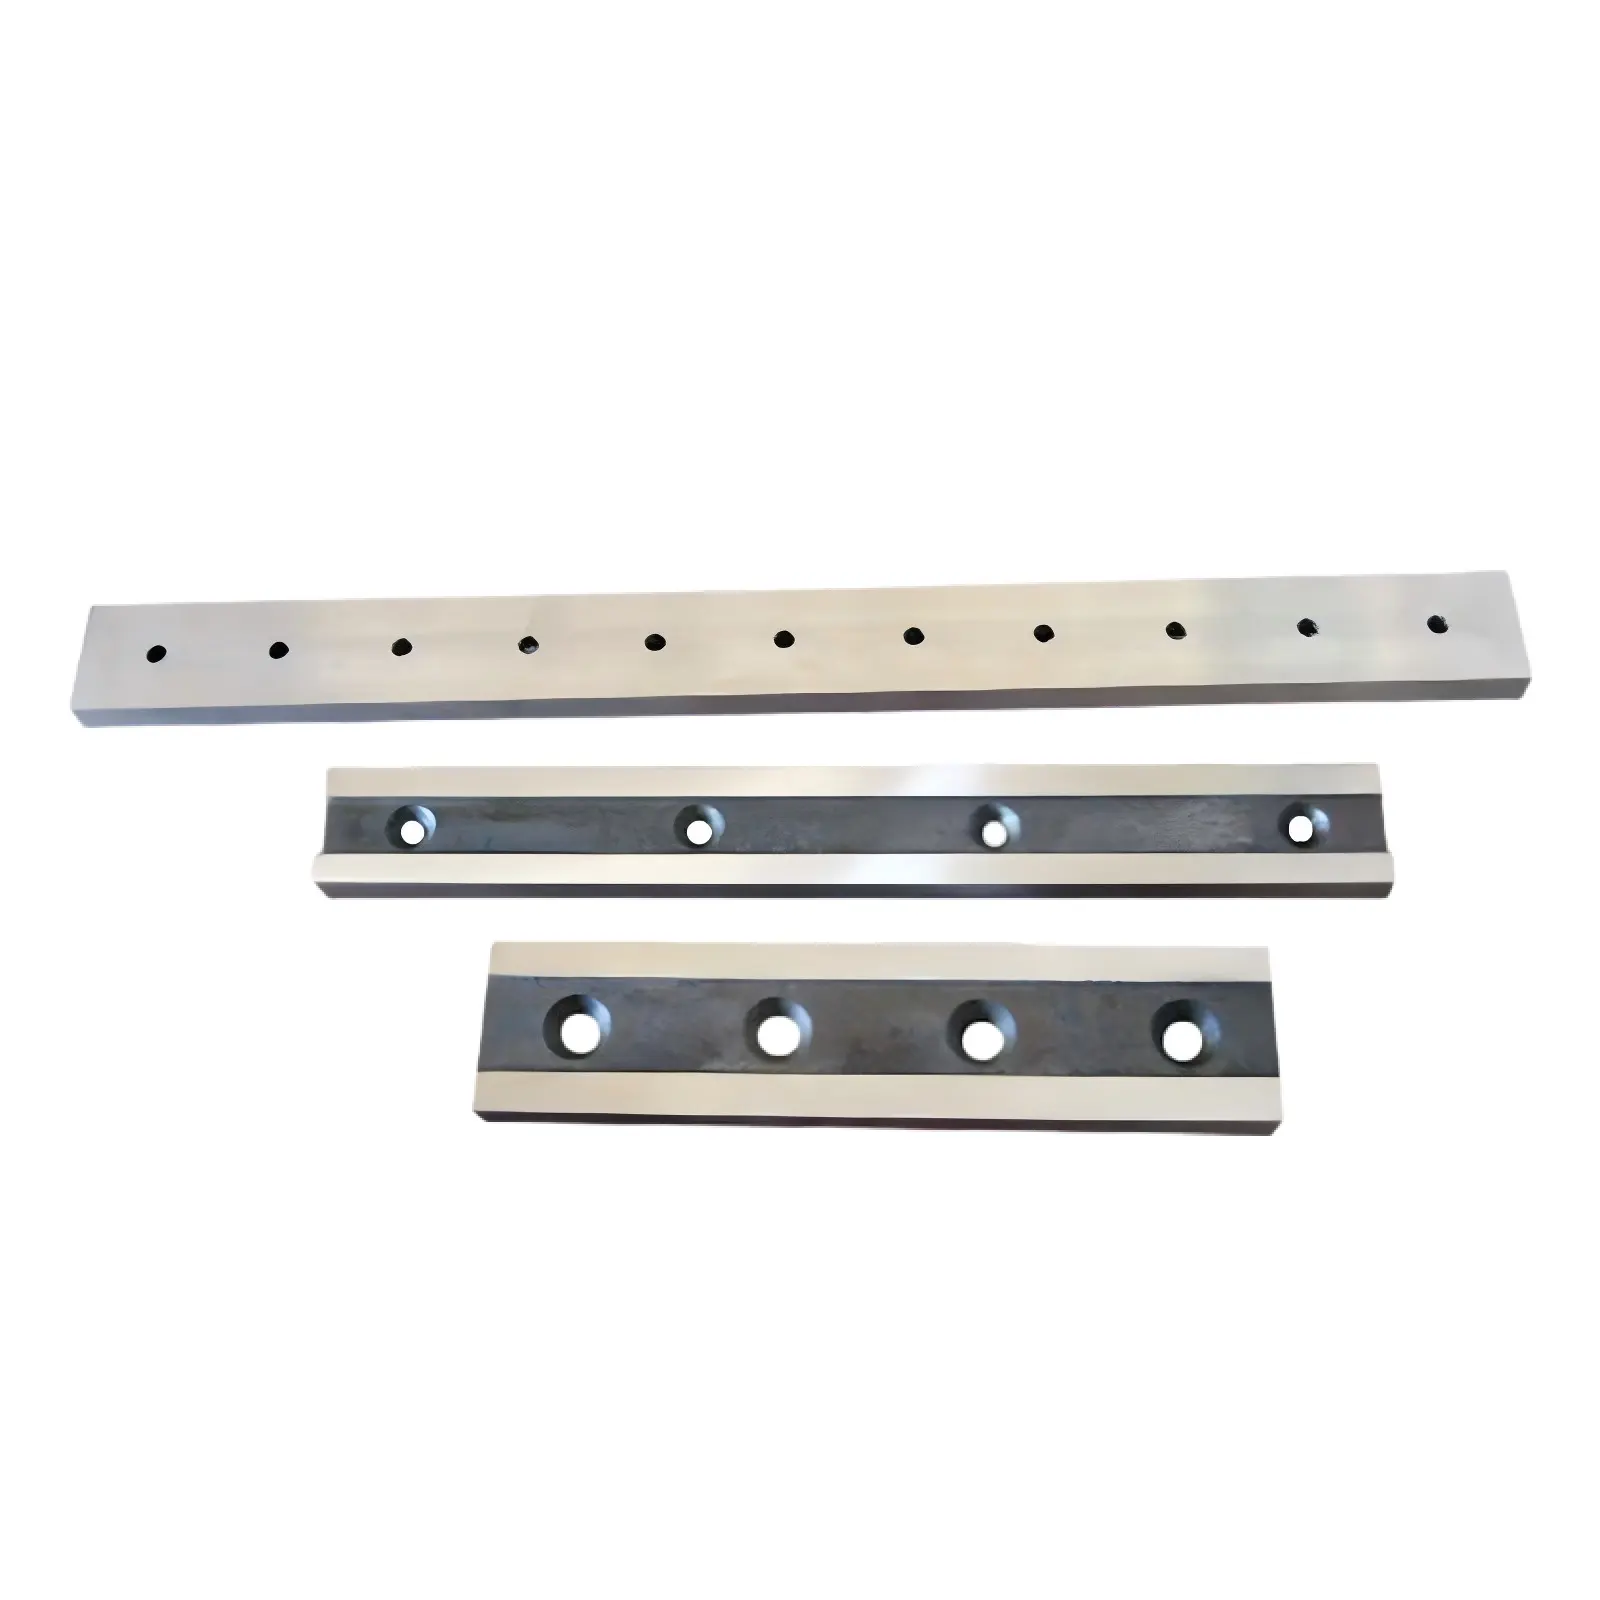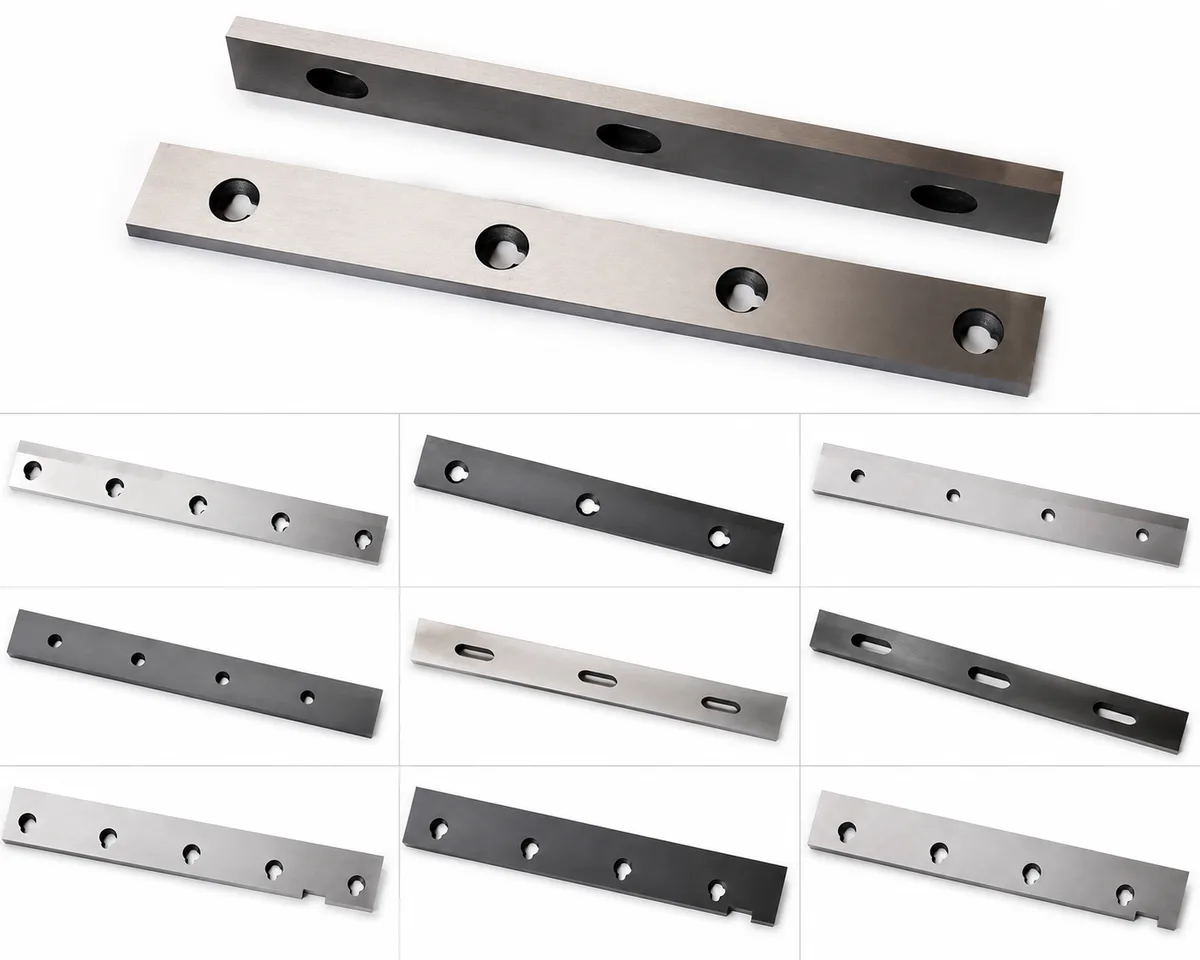
A fabrication shop runs 3 mm mild steel all week on a 6 × 3200 hydraulic guillotine. Clean edges, negligible burr. Monday a job comes in for 6 mm 304 stainless, the operator loads it, and the first plate comes off with a rolled top edge and a burr you can catch a fingernail on. The blades are two weeks old. Nobody touched the machine.
That last part is the problem. Blade clearance is the one shearing variable that has to change when the job changes, and it's the one most often left wherever the previous operator put it.
What Blade Clearance Actually Controls
Clearance is the horizontal gap between the upper and lower guillotine shear blades, and it's specified as a percentage of material thickness rather than a fixed number. Shearing isn't really cutting. The two edges initiate cracks at the top and bottom faces of the plate, and those cracks run toward each other through the thickness. When the gap is right, they meet cleanly. Everything that goes wrong on a sheared edge traces back to them not meeting.
Too tight, and the cracks pass each other instead of joining. The material gets sheared a second time, leaving a secondary burr stacked on the primary one, and the cutting force climbs sharply — that extra load goes directly into the blade edge. On D2 at HRC 58–62, which is hard and wear-resistant but not especially forgiving of impact, that's the usual route to edge chipping. The chipping gets read as a bad blade. Often it's a gap still set for thinner stock.
Too wide, and the plate bends into the gap before it fractures. You get pronounced rollover on the top edge, a heavy burr underneath, and on narrow strips, visible twist. The break looks torn rather than sheared.
Clearance Settings by Material
| Material | Typical Clearance (% of thickness) | Why |
|---|---|---|
| Mild / structural steel (S235, A36) | 4–6% | The baseline most machine dials are calibrated around |
| Stainless 304 / 316L | 6–9% | Higher shear strength and work hardening; running it at mild-steel clearance overloads the edge |
| Aluminium | 3–4% | Soft and ductile — a wide gap lets it draw and roll instead of fracturing |
| HSLA and high-strength plate | 7–10% | Fractures earlier and harder; a tight gap drives tonnage and chipping risk up fast |
| Galvanized / pre-painted sheet | 4–6% (lower end) | A wide gap drags and flakes the coating along the cut line |
Treat those as starting points, not a specification. Your machine manual is the authority, and blade condition, rake angle, and hold-down pressure all shift the practical window. What matters more than the exact figure is that somebody moves it when the material changes. A 6 mm plate at 5% wants roughly 0.30 mm of gap; the same 6 mm in 304 stainless at 8% wants closer to 0.48 mm. That difference is the whole distance between a clean edge and a deburring operation.
Reading the Sheared Edge
The edge tells you what the gap is doing, and you don't need instruments to read it. A correctly sheared edge on mild steel shows a narrow burnished band — the bright, polished strip where the blade rubbed through — occupying roughly the top third of the thickness, with the remainder a duller fracture zone. Rollover at the top should be slight. The burr should come off with a light pass.
| What You See | Likely Cause | What to Do |
|---|---|---|
| Secondary burr, two distinct burnished bands | Clearance too tight for the material | Open the gap toward the upper end of the range for that grade |
| Heavy burr with pronounced rollover, torn fracture zone | Clearance too wide | Close the gap; confirm the setting matches the current material, not the last job |
| Burr creeping up gradually on the same job at the same setting | Edge radius from wear, not the gap | Rotate to a fresh cutting edge or send the set for regrinding |
| One end cuts clean, the other drags or leaves a lip | Blade parallelism or holder seating — not clearance | Check full-length blade height with a dial indicator before touching the gap |
| Chipping along the cutting edge on harder plate | Gap too tight for the grade, or the wrong steel for the job | Open the clearance first; if it persists, review the alloy against the plate being cut |
Why the Setting Drifts When Nobody Moves It
A new blade has a sharp corner. A worn one has a radius, and that radius adds to the effective gap. This is why burr height creeps upward over a blade's service life on jobs that used to run clean at the same dial setting. Chasing it by closing the machine clearance is the wrong move — you're compensating for a dull edge by loading it harder, which accelerates exactly the wear you're reacting to.
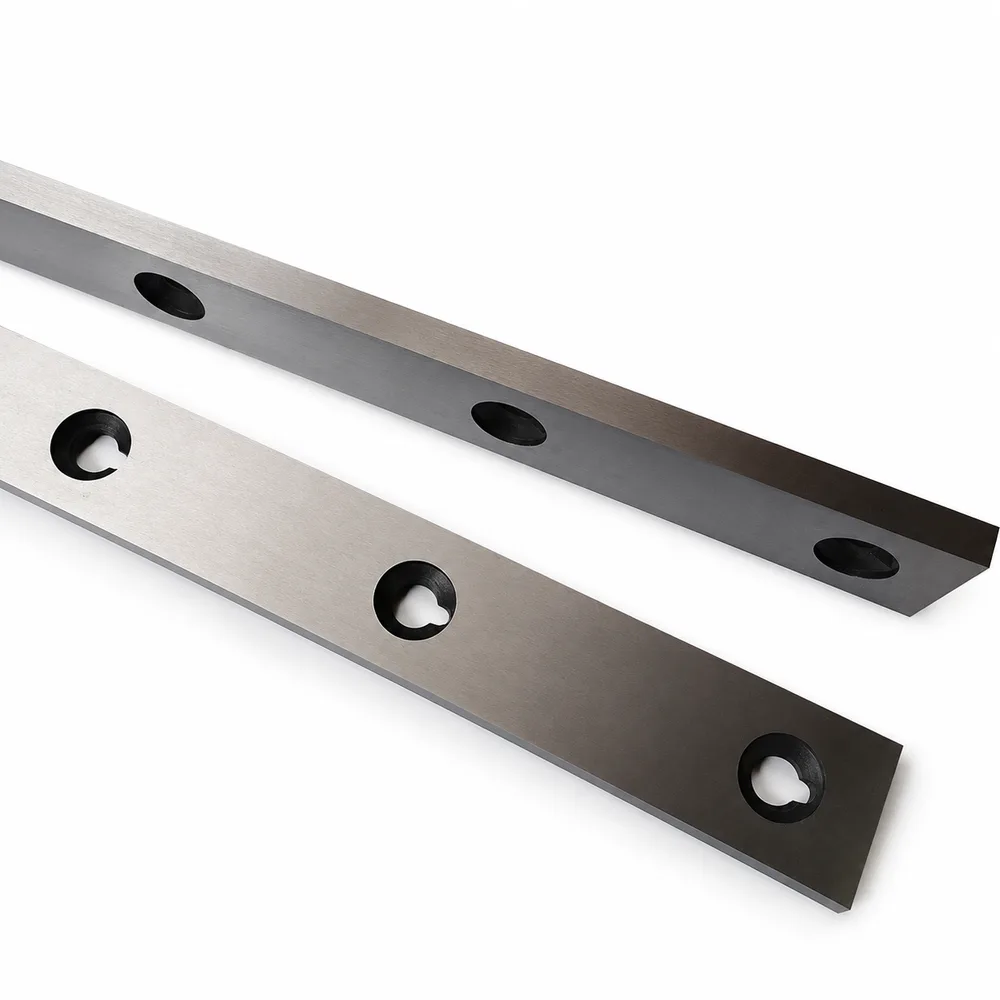
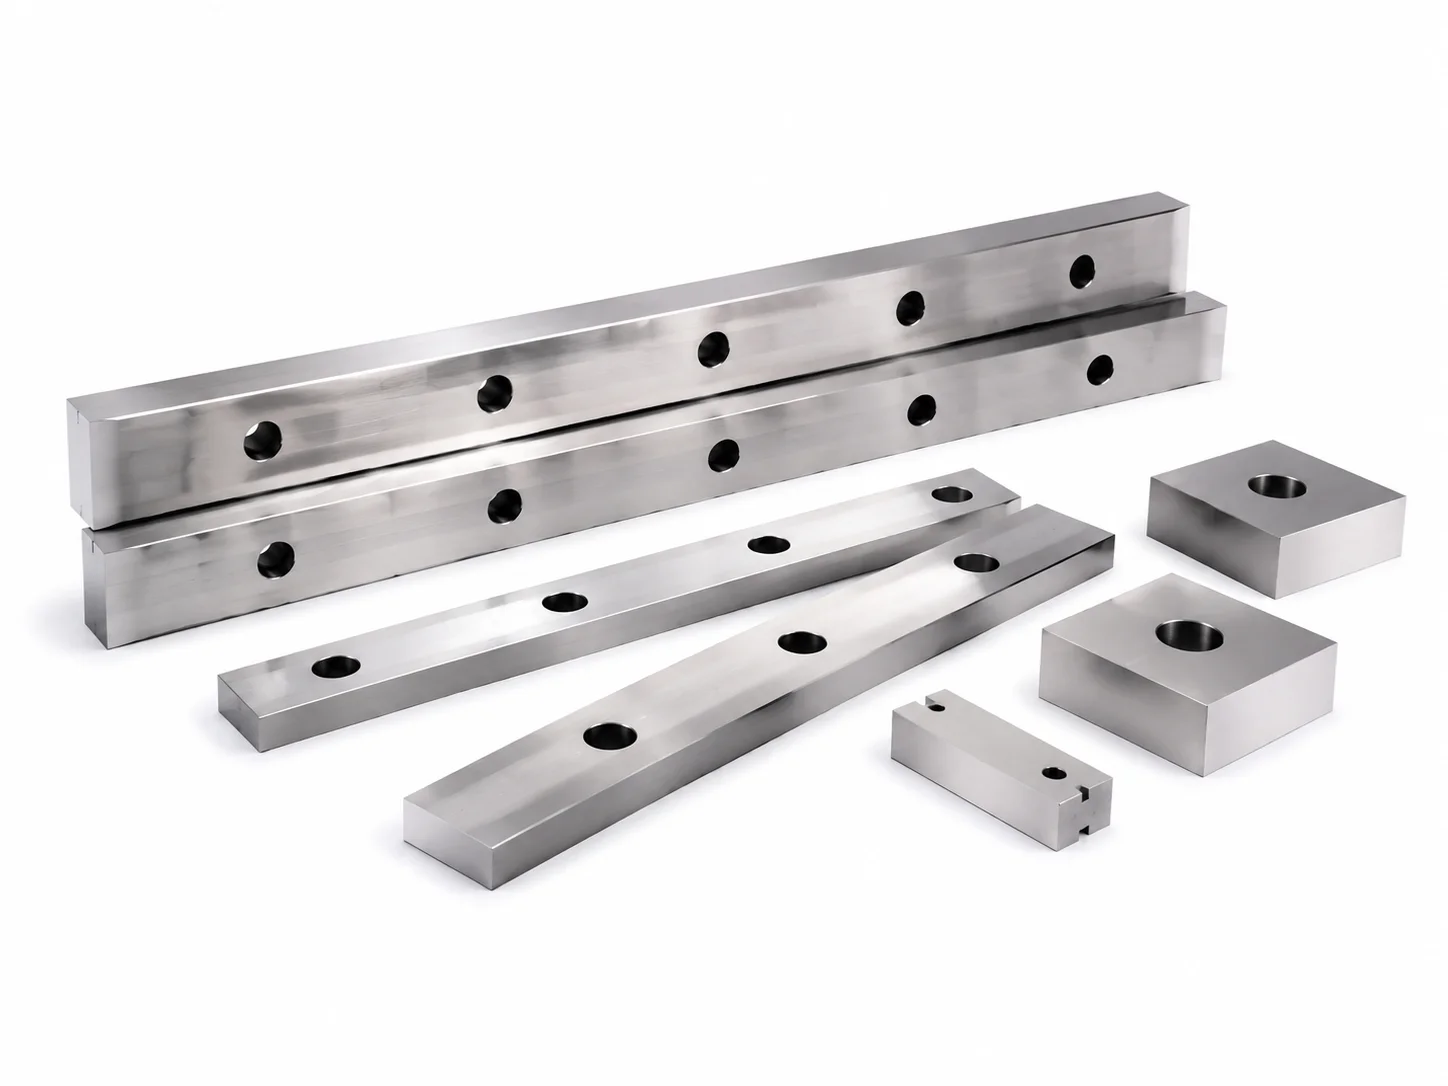
This is where multi-edge blades earn their cost. Standard rectangular sections are ground with 2 or 4 usable cutting edges; loosening the bolts and rotating to a fresh corner restores the original edge geometry — and the clearance behaviour that came with it — without a regrind or a new set. Rotate on a threshold tied to measured burr height, not on the day the cut becomes unacceptable.
What Clearance Can't Fix
Clearance is only uniform if both blades are straight. If the cut tapers end to end, no adjustment on the machine corrects it, because the gap itself varies along the length — that's a blade parallelism problem, ground into the blade at manufacture, and it has to be measured rather than dialled out.
Rake angle is a separate lever with its own tradeoff. Increasing it lowers the tonnage the machine has to deliver, because less of the edge is engaged at any instant, but it also twists narrow strips more. If you're shearing long, narrow pieces and fighting bow, check the rake angle before blaming the clearance. And at the heavy end of the range — scrap and alligator shears running metal shear knives rather than sheet-gauge blades — clearance is generally set wider than sheet work would suggest, because mixed feed and heavy sections make a tight gap a fast route to blade damage.
Guillotine Shear Blade Clearance FAQ
How do I calculate guillotine shear blade clearance for a given plate?
Multiply the material thickness by the clearance percentage for that grade. A 6 mm mild steel plate at 5% needs roughly 0.30 mm of gap; the same 6 mm in 304 stainless at 8% needs closer to 0.48 mm. Confirm the range against your machine manual — the percentages are starting points, and blade condition and rake angle shift the practical window.
Do I need to change the clearance between mild steel and stainless of the same thickness?
Yes. Stainless has higher shear strength and work-hardens as it deforms, so it needs a wider gap than mild steel at the same thickness. Running 304 or 316L at a mild-steel clearance setting concentrates load on the edge and produces rollover, a heavy burr, and eventually chipping.
My burr keeps getting worse but nobody has changed the gap. What's wrong?
Almost always edge wear. As the cutting edge develops a radius, the effective clearance increases even though the machine setting hasn't moved. Rotate the blade to a fresh edge or send the set for regrinding — closing the machine clearance to compensate loads a dull edge harder and speeds up the wear.
Can clearance that's set too tight damage the blade?
Yes, and it's a common cause of premature failure. Too little clearance forces a secondary shear, drives cutting force up, and concentrates that load on the edge. Hard, wear-resistant grades like D2 at HRC 58–62 have limited impact tolerance, so the failure usually shows as edge chipping rather than gradual dulling.
Getting the Blade Right in the First Place
Technical Note
Clearance settings only do their job on a blade that was ground straight and matched to the material. Send us your machine model, the plate materials and thickness range you actually run, and a drawing or worn sample — we'll confirm the steel grade, edge count, and mounting dimensions before production, and grind the set to ±0.05 mm full-length parallelism so the gap you set is the gap you get. Talk to our engineering team.