Operating with dull wood chipper knives degrades chip uniformity, spikes fuel consumption by 15–25%, accelerates bearing wear, and introduces destructive friction into the drum assembly. This guide details the precise sharpening protocols — including OEM bevel angles, thermal limits during grinding, and strict balance tolerances — required to maintain edge geometry without compromising the blade's metallurgical integrity.
1. Diagnostics: When to Pull Blades for Sharpening
Premature sharpening wastes usable steel; delayed sharpening damages machinery. Monitor these four operational metrics to determine exact sharpening intervals:
Technical Note
DEGRADED CHIP GEOMETRY: Cleanly sheared chips replaced by fibrous, torn splinters — indicates edge rounding. LOSS OF SELF-FEEDING: Operators must force material into the drum — blade geometry has failed. LOAD SPIKES (15–25%): Monitor hydraulic RPM drops or electric amp draw — dull blades crush rather than shear. VISUAL WEAR BAND: A bright reflective band exceeding 0.5 mm on the cutting edge dictates immediate sharpening.
2. Required Tooling & Tolerances
Professional regrinding requires strict thermal and geometric control. Use a wet surface grinder or bench grinder with a fixed tool rest fitted with Aluminum Oxide (46–60 grit) wheels — never use green Silicon Carbide wheels on tool steel. A continuous water bath is mandatory; dry grinding requires manual quenching every 3–5 seconds to prevent drawing the temper. Essential measurement tools: digital protractor for bevel angle verification, micrometer for minimum thickness compliance, and a precision digital scale (±1 g resolution) for drum balancing.
3. Bevel Angle Specifications
The bevel angle dictates the blade's structural durability and cutting efficiency. Deviating from OEM specifications causes premature edge fracture (if too acute) or loss of feed (if too obtuse).
| Feedstock / Application | Target Bevel Angle | Technical Rationale |
|---|---|---|
| Green Softwood (Pine, Poplar) | 25° – 28° | Low-density shearing; acute edge for clean fibre slicing. |
| Mixed Species (Birch, Ash) | 28° – 32° | Optimal balance of impact resistance and shearing efficiency. |
| Dry Hardwood (Oak, Hickory) | 32° – 37° | Dense, high-impact material; greater cross-section prevents edge rollover. |
| Contaminated / Urban Waste | 35° – 42° | Maximum toughness against tramp metal; survivability over sharpness. |
Standard OEM baselines: Bandit (30°–35°), Vermeer (30°), Morbark (33°–37°). Always verify against your machine's manual before grinding.
4. Standard Sharpening Protocol
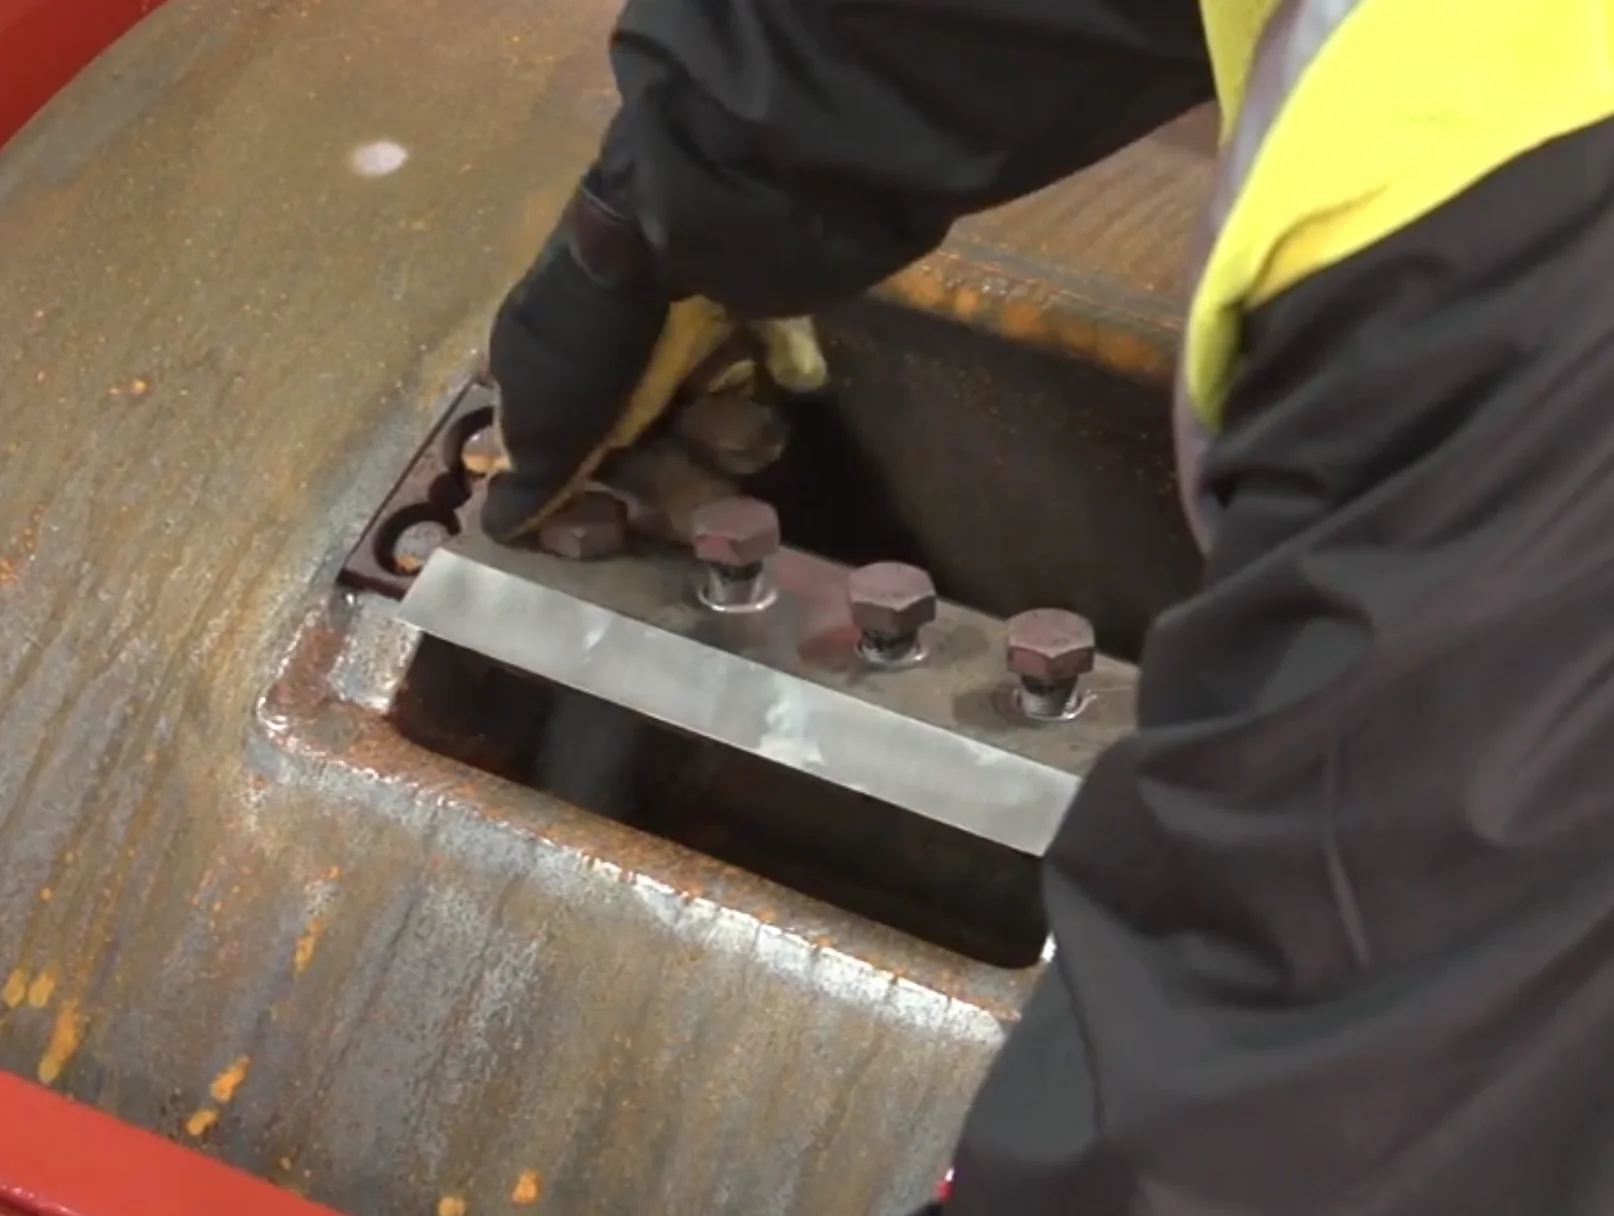
Step 1 — Pre-Grind Inspection
Lay the removed blade on a precision flat surface. Reject and replace any blade showing thermal warping or micro-cracks near the bolt holes. Grinding a cracked blade risks catastrophic centrifugal fragmentation inside the drum.
Step 2 — Bevel Marking & Jig Setup
Coat the existing bevel face with a black marker. Make a light test pass against the wheel. If the marker is removed evenly across the full bevel width, the jig angle is calibrated correctly. If only the heel or tip is exposed, adjust the tool rest before proceeding.
Step 3 — Controlled Material Removal
Remove 0.02–0.05 mm per pass. This is the critical thermal control step: chipper knives are heat-treated to HRC 55–62. Exceeding 200°C — indicated by straw-yellow or blue oxidation on the steel surface — irreversibly draws the temper, leaving localised soft spots. If the steel blues at any point, the heat treatment is ruined and the blade must be replaced.
Step 4 — Wire Edge (Burr) Removal
Grinding pushes a micro-burr onto the rake face. Lay the blade flat (rake face down) and use a fine stone with 3–5 flat strokes to remove this burr completely. Failing to deburr results in immediate edge collapse on first contact with timber.
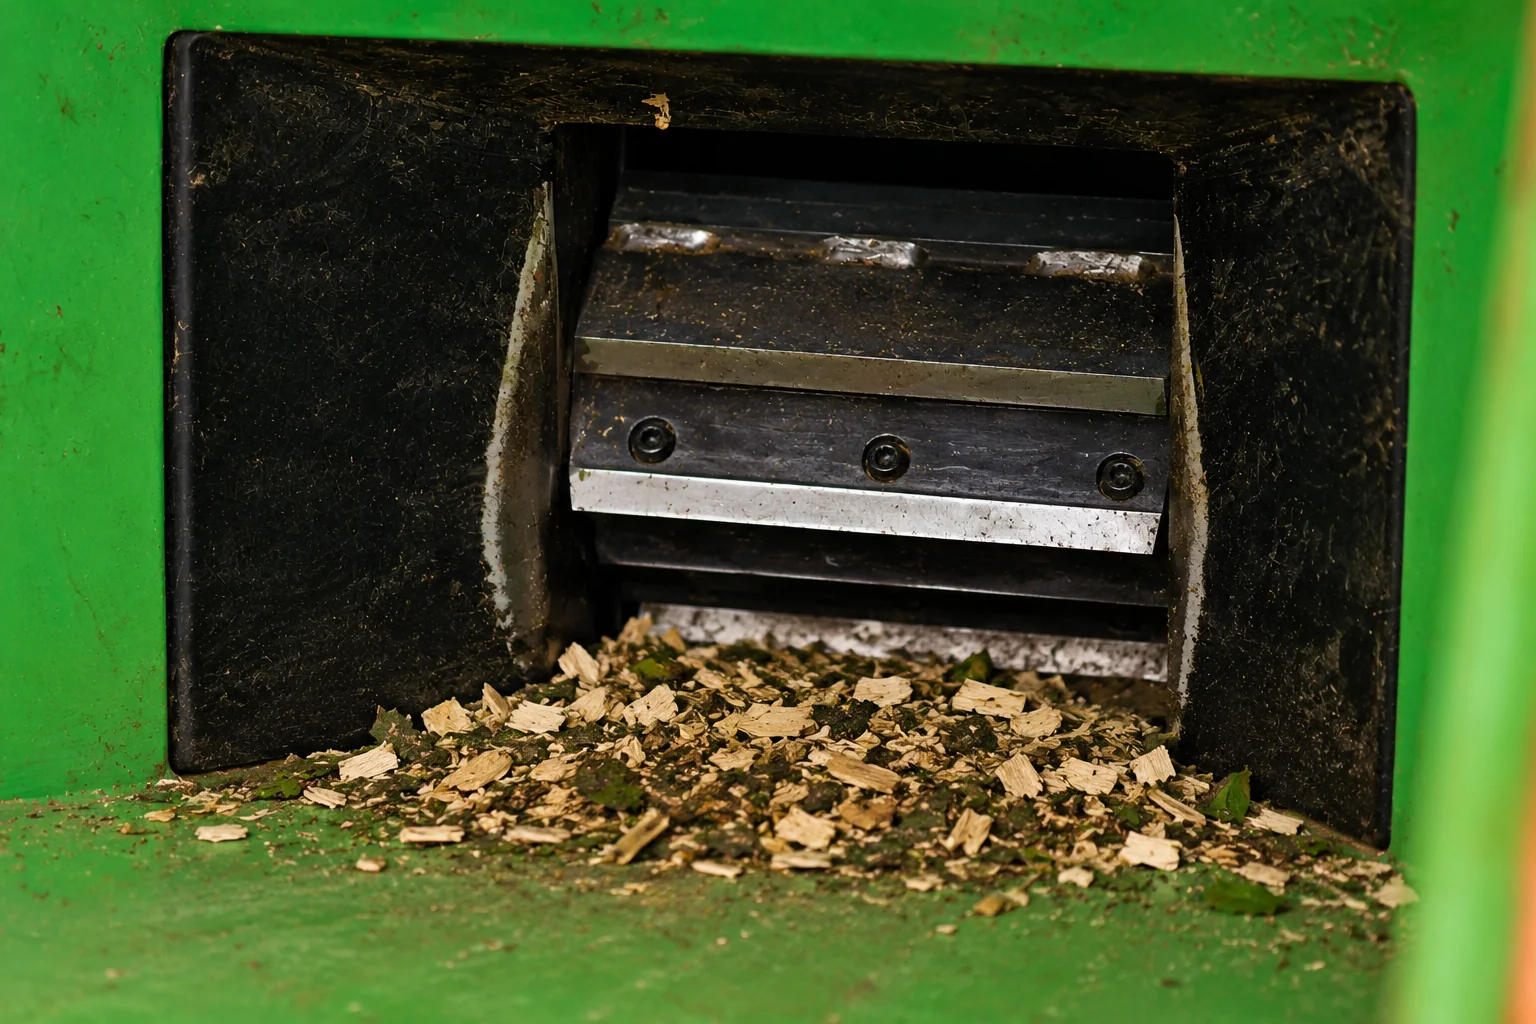
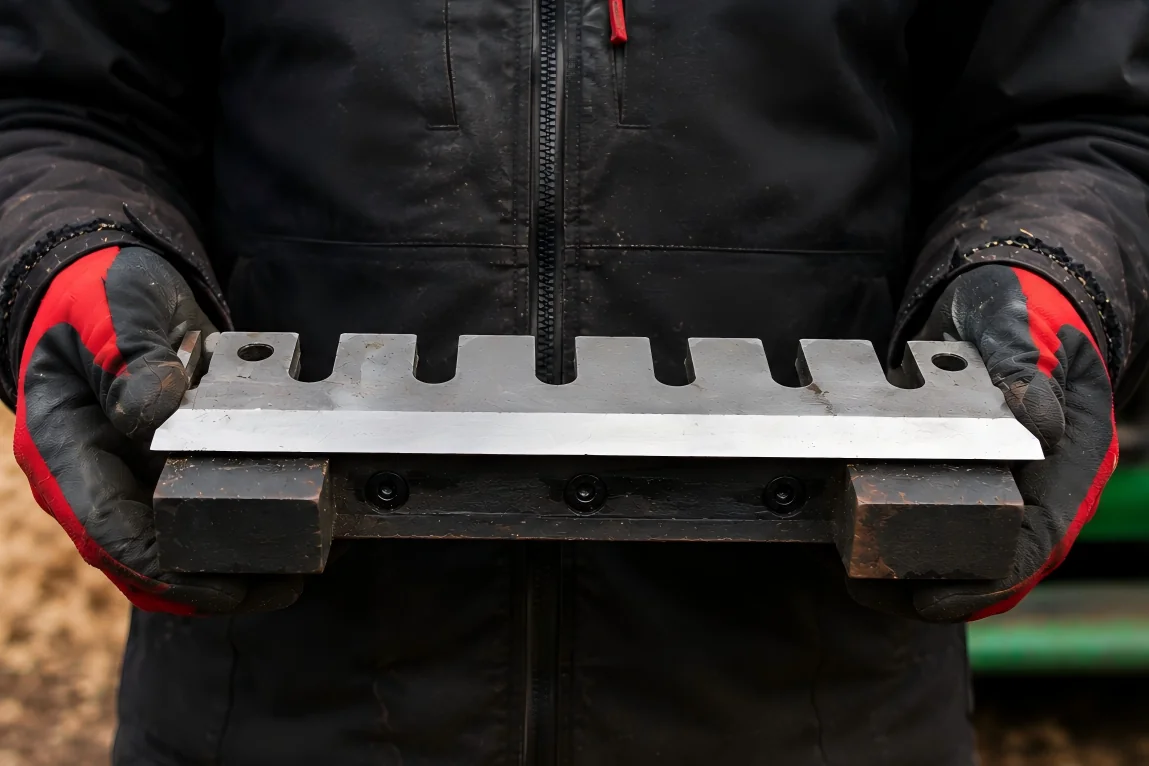
Step 5 — Drum Balancing (±2 Gram Tolerance)
At 2,000+ RPM, uneven blade weights destroy drum bearings within hours. Weigh all sharpened blades on a digital scale. If variances exist, pair blades of identical weight on opposite sides of the drum to ensure dynamic balance across all positions.
5. Regrind Limits & Metallurgical Lifespan
Stop sharpening and replace the blade when: (1) the blade drops below 60–70% of its original thickness, exceeding the maximum adjustment range of the anvil; (2) removing enough steel to clear deep chips (>2 mm) drops the blade below safe operating dimensions; or (3) previous dry-grinding has blued the steel, permanently compromising the HRC rating.
Technical Note
CRITICAL: Budget aftermarket blades are often only case-hardened. The first regrind strips the hardened exterior, exposing a soft core that dulls rapidly. Premium industrial knives must be through-hardened — uniform HRC from surface to core — so every regrind cycle delivers identical edge performance.
| Material Grade | Expected Regrind Cycles | Performance Notes |
|---|---|---|
| T10 High-Carbon | 3 – 5 total | Base level. Rapid wear on hardwoods; frequent regrinding required. |
| 9CrSi / Cr12MoV | 6 – 10 total | Excellent mid-tier alloy. Higher chrome content resists abrasive wear. |
| D2 (SKD11) | 8 – 12 total | Premium tool steel. Exceptional edge retention and impact resistance. |
| M2 HSS | 6 – 10 total | Maximum hardness, but highly sensitive to thermal shock during grinding. |
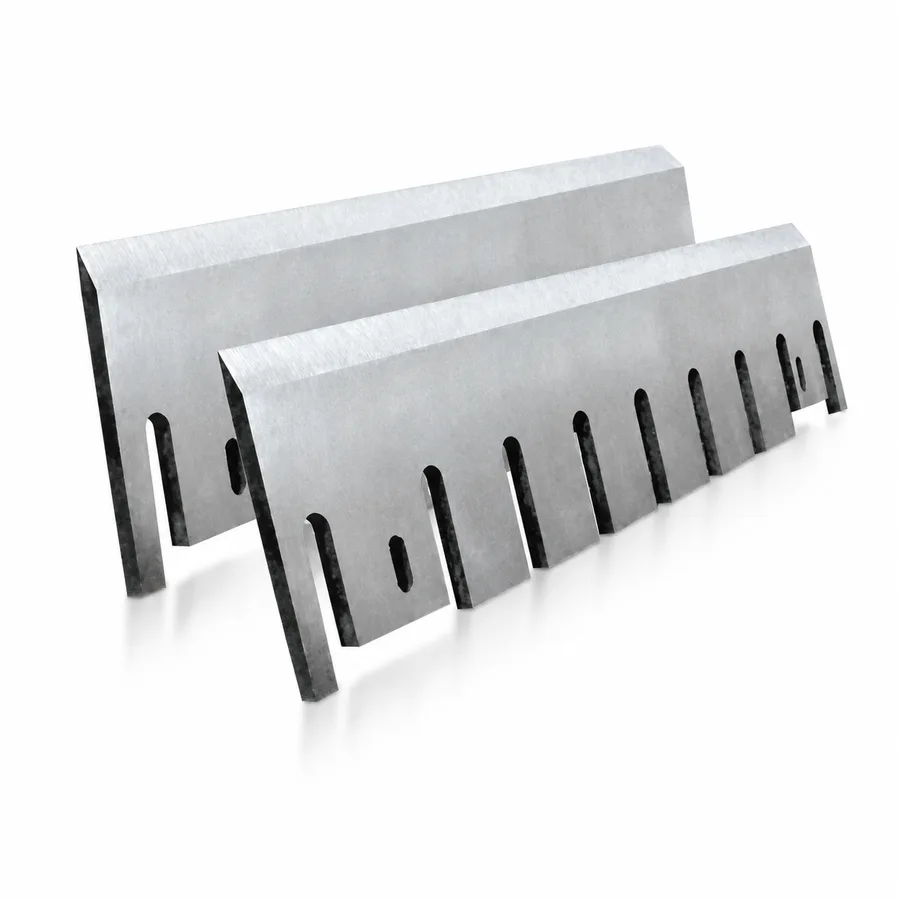
Upgrade Your Chipper Uptime with Sureay
Sureay manufactures precision wood chipper knives in through-hardened 9CrSi, Cr12MoV, D2, and M2 HSS — maintaining identical HRC ratings from surface to core, so every regrind cycle delivers OEM-level edge performance. Exact fitment for single and reversible double-edge configurations across Bandit, Vermeer, Morbark, and Doppstadt platforms.
Technical Note